How to add MVVM pattern and Stream Controller to Flutter
March 08, 2019
In this tutorial, we will look at how to bring MVVM pattern and Steam Controller to Flutter.
Prerequisites
- Android Emulator or Physical device
- VS Code
- Dart and Flutter
Reference
Overview
In this tutorial, we will discuss MVVM and how we can separate business logic from UI in the Flutter app. In order to do that, we will discuss Sink, Steam and Steam Controller. Finally, we will apply all those ideas into a very simple counter program.
Dependencies
Here we don’t need any extra dependencies.
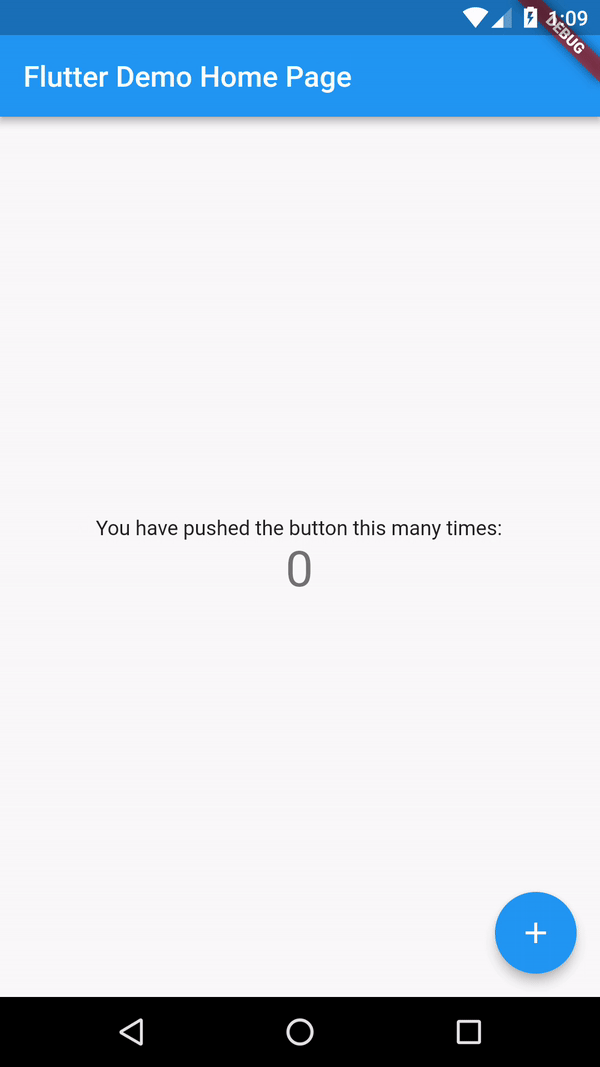
Screenshot
MVVM
You can look at a more concise version of MVVM from wiki. If you are not very convinced yet, you can look at this website why MVVM pattern is so great to use. You can look at the basic pattern here.
Handling States
Everything in Flutter is reactive, meaning you can observe every user UI action and act on it. To observe user actions, Flutter is using the same pattern as React which is called Lifting State Up. You can watch the awesome talk to understand the states in Flutter. From the talk, hope you understand why we need to separate UI and logic. We don’t want to mix UI and logic together, don’t we? Let’s look at the next section how we can use Flutter Stream in order to separate UI and business logic.
Sink, Stream and Stream Controller
We need to do in Asynchronous Programming in Flutter in order to get a sequence of data. We need 3 parts; Sink, Stream and Stream Controller. In Flutter, Sink is basically where you pass the input data to it. It is also treated as a data consumer. A stream is a data generator where you get the output from. A stream controller acts in between a sink and a stream. The controller manipulates the data from a sink and passes the manipulated data to a stream. It is a uni-directional way to communicate from data into data out. In order to separate UI and business logic, we will expose Sink and Stream at UI and we will hide business logic together with Steam Controller in a separate file.
View Model
With the understanding of the above idea, let’s get coding. We will use a very first example provided by Flutter when you create a new project. So you just create a new Fluter project and we can just modify from there.
Under the lib folder, we will create a file called viewmodel.dart and add the following line of codes.
At line 1, we need to import dart:async to use stream-based class. At line 4, we create a StreamController based on int since we are going to use to emit a counter. At line 8, we need to dispose of that controller when the UI is destroyed. From line 10 to 14, it is just a business logic for the counter. Lastly, at line 16, we just link a Sink and the Controler. Next, we will look at how we can use that ViewModel at the UI side.
1
2
3
4
5
6
7
8
9
10
11
12
13
14
15
16
17
import 'dart:async';

class ViewModel {
  var _counterController = StreamController<int>.broadcast();

  int _counter = 0;

  void dispose() => _counterController.close();

  Stream<int> get steamCounter => _counterController.stream.map((val) {
        _counter += val;
        if (_counter > 3) _counter = 0;
        return _counter;
      });

  Sink get sinkCounter => _counterController;
}
Main UI
At main.dart, just clear the original codes and replace with this code. First, you will notice that there is no state control (or business logic) in the code. The setState() function is gone. Instead, we replaced with ViewModel in line 28. Please make sure you dispose of viewmodel once the UI is gone as you can see from line 30 to 34. Next thing you will notice that we are using StreamBuilder from line 49 to 55. The StreamBuilder is responsible to re-build a UI associated with it. So when there is a change in stream data (counter), the counter will be displayed at the Text widget we defined inside the StreamBuilder. Finally, we have sinkCounter on line 60. We are adding 1 to Sink when user press on the FloatingActionButton.
1
2
3
4
5
6
7
8
9
10
11
12
13
14
15
16
17
18
19
20
21
22
23
24
25
26
27
28
29
30
31
32
33
34
35
36
37
38
39
40
41
42
43
44
45
46
47
48
49
50
51
52
53
54
55
56
57
58
59
60
61
62
63
64
65
66
import 'package:flutter/material.dart';
import 'package:flutter_mvvm/viewmodel.dart';

void main() => runApp(MyApp());

class MyApp extends StatelessWidget {
  @override
  Widget build(BuildContext context) {
    return MaterialApp(
      title: 'Flutter Demo',
      theme: ThemeData(
        primarySwatch: Colors.blue,
      ),
      home: MyHomePage(title: 'Flutter Demo Home Page'),
    );
  }
}

class MyHomePage extends StatefulWidget {
  MyHomePage({Key key, this.title}) : super(key: key);
  final String title;

  @override
  _MyHomePageState createState() => _MyHomePageState();
}

class _MyHomePageState extends State<MyHomePage> {
  final _viewModel = ViewModel();

  @override
  void dispose() {
    _viewModel.dispose();
    super.dispose();
  }

  @override
  Widget build(BuildContext context) {
    return Scaffold(
      appBar: AppBar(
        title: Text(widget.title),
      ),
      body: Center(
        child: Column(
          mainAxisAlignment: MainAxisAlignment.center,
          children: <Widget>[
            Text(
              'You have pushed the button this many times:',
            ),
            new StreamBuilder(
                stream: _viewModel.steamCounter,
                builder: (BuildContext context, AsyncSnapshot<int> snapshot) =>
                    new Text(
                      '${snapshot?.data ?? 0}',
                      style: Theme.of(context).textTheme.display1,
                    )),
          ],
        ),
      ),
      floatingActionButton: FloatingActionButton(
        onPressed: () => _viewModel.sinkCounter.add(1),
        tooltip: 'Increment',
        child: Icon(Icons.add),
      ),
    );
  }
}